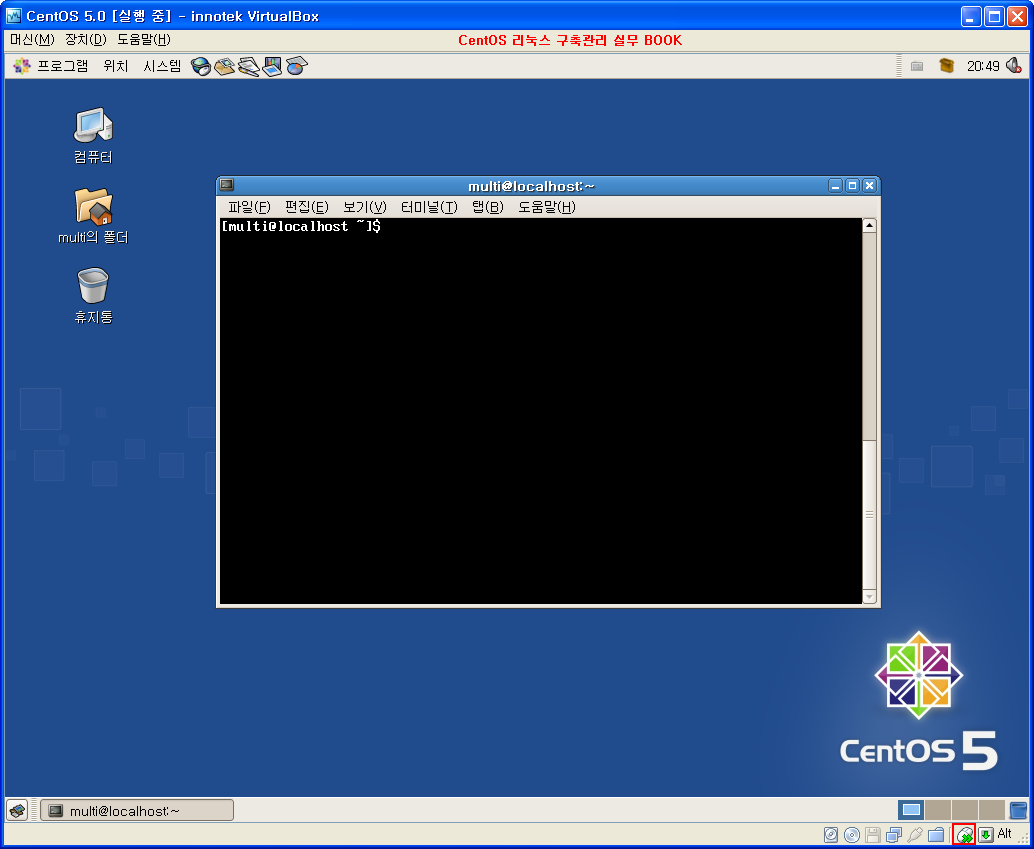
버추얼 박스상에 CentOS 리눅스를 설치했다면 기본적인 해상도는 800x600이다.
그런데 나는 1024x768이상의 해상도를 사용하고 싶다. 그리고 클립보드와 공유폴더를 공유하고 싶다.
이럴때는 버추얼 박스의 게스트인 CentOS 리눅스상에 게스트 확장을 설치하면 된다.
설치는 아주 간단하며, 설치후 재부팅하면 적용된다.
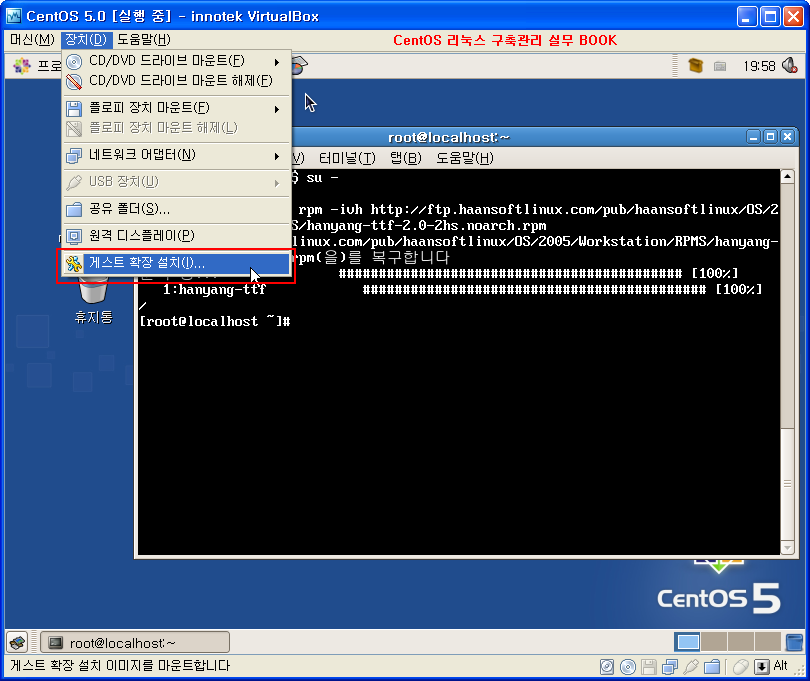
1. 설치는 아래 그림과 같이 VirtualBox의 장치 메뉴에서 가장 아래에 보이는 "게스트 확장 설치"를 클릭하면 게스트 확장용 이미지가 /media 디렉토리 아래로 마운트 된다.
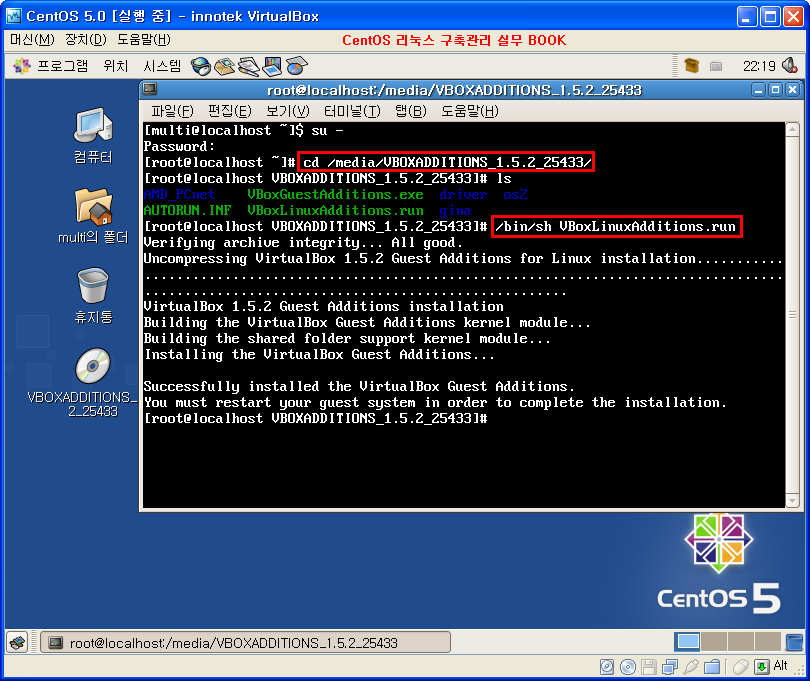
2. 일반유저로 로그인 되어 있는 상태에서 su - 명령으로 root 로 전환한 다음 /media 디렉토리 아래에 마운트된 VBOXADDITIONS_1.5.2_25433 디렉토리에서 아래 명령을 실행하면 설치가 완료된다.
Password:
[root@localhost ~]# cd /media/VBOXADDITIONS_1.5.2_25433/
[root@localhost VBOXADDITIONS_1.5.2_25433]# ls
AMD_PCnet VBoxGuestAdditions.exe driver os2
AUTORUN.INF VBoxLinuxAdditions.run gina
[root@localhost VBOXADDITIONS_1.5.2_25433]# /bin/sh VBoxLinuxAdditions.run
Verifying archive integrity... All good.
Uncompressing VirtualBox 1.5.2 Guest Additions for Linux installation................................................................................................................................................
VirtualBox 1.5.2 Guest Additions installation
Building the VirtualBox Guest Additions kernel module...
Building the shared folder support kernel module...
Installing the VirtualBox Guest Additions...
Successfully installed the VirtualBox Guest Additions.
You must restart your guest system in order to complete the installation.
[root@localhost VBOXADDITIONS_1.5.2_25433]#
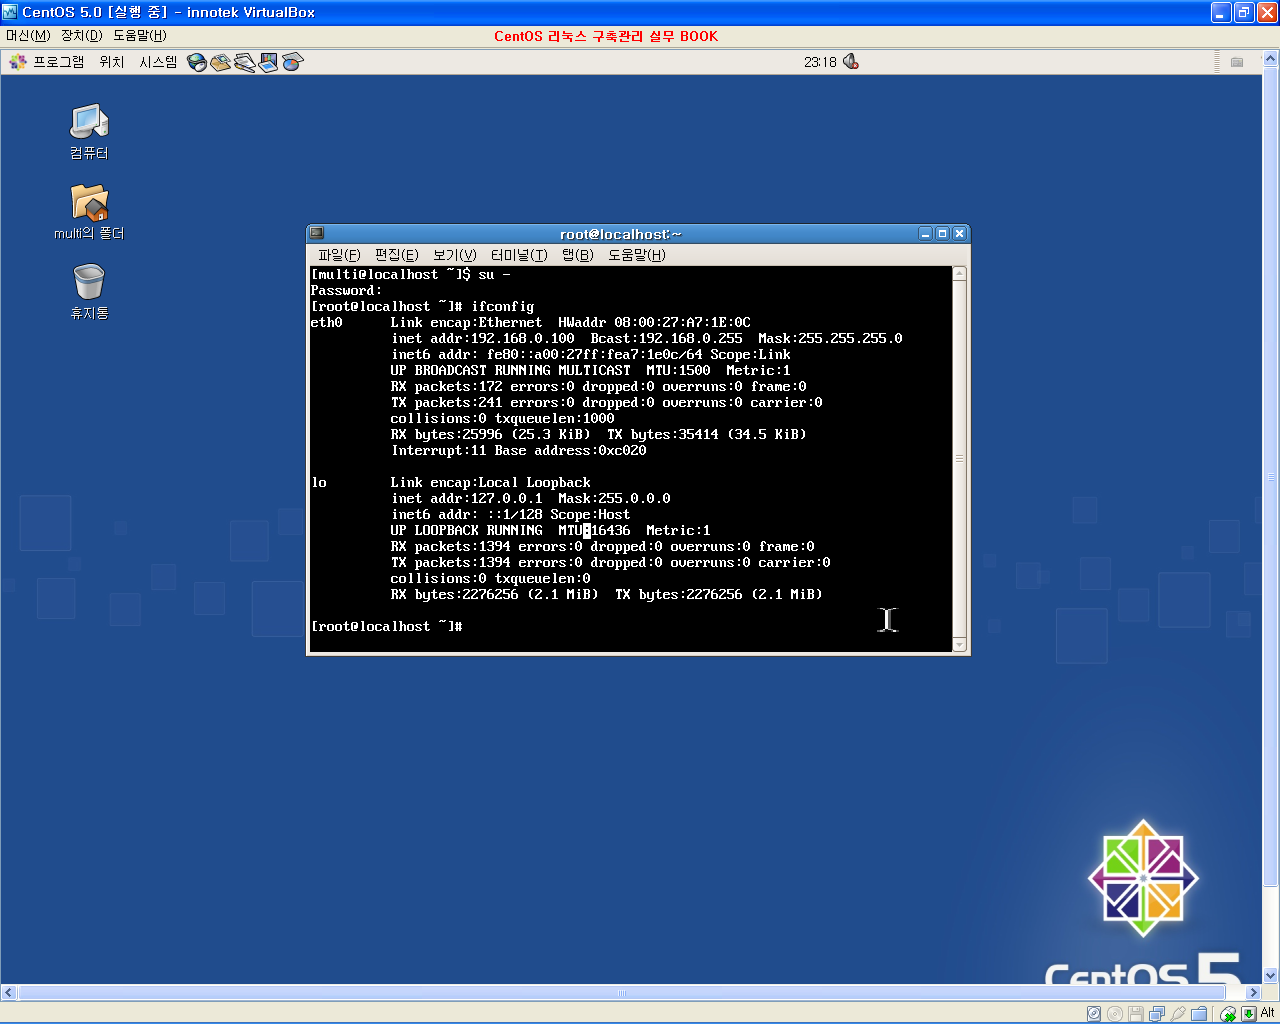
설치가 완료된 다음 재부팅을 하면 1024x768 해상도로 화면을 볼 수 있으며, 버추얼박스와 윈도우간의 클립보드(copy & paste)를 공유할 수 있게 된다. (마우스도 자유자재로 이동이 가능함)
적용화면 : 오른쪽 아래에 보면 마우스 아이콘 모양( )이 색다르게 보인다.
참고 : 굴림폰트 설치하기는 root쉘에서 아래 명령 실행/설치후 글꼴 설정을 굴림으로 변경하면 된다.
이제 게스트 확장이 설치되었으니, 이번에는 윈도우에 공유폴더를 만들어서 리눅스에서 마운트 하여 사용해 보자.
공유폴더는 e:\ 파티션을 설정하고, 리눅스에서 /mnt/share 디렉토리에 마운트 하도록 한다.
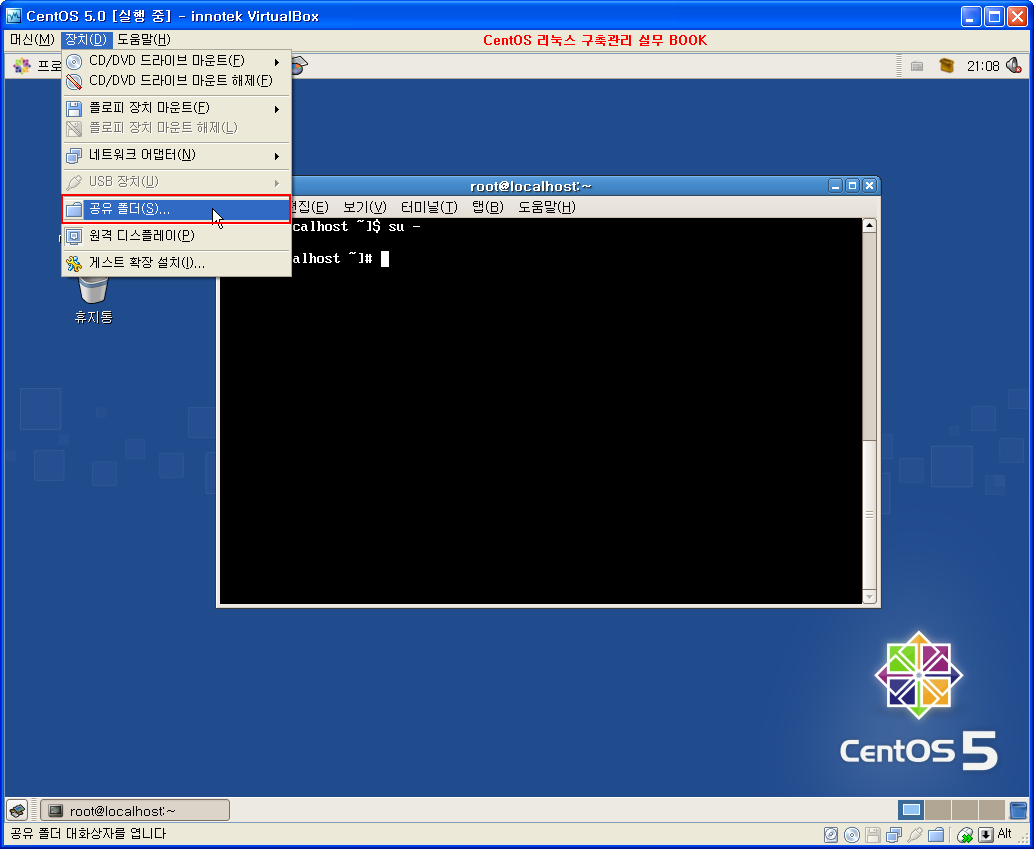
1. 버추얼박스의 장치메뉴에서 공유폴더를 클릭한다.
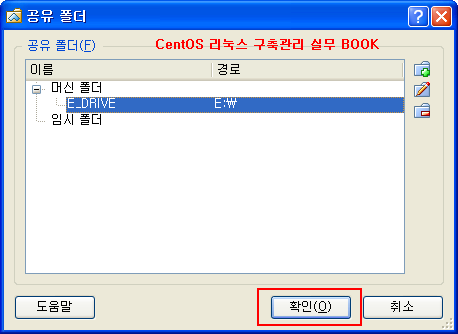
2. 공유 폴더 설정창에서 우측의 추가 버튼을 클릭하고, 폴더 경로를 E:\로 선택한다. 폴더이름은 자동으로 지정되며, 변경도 가능하다.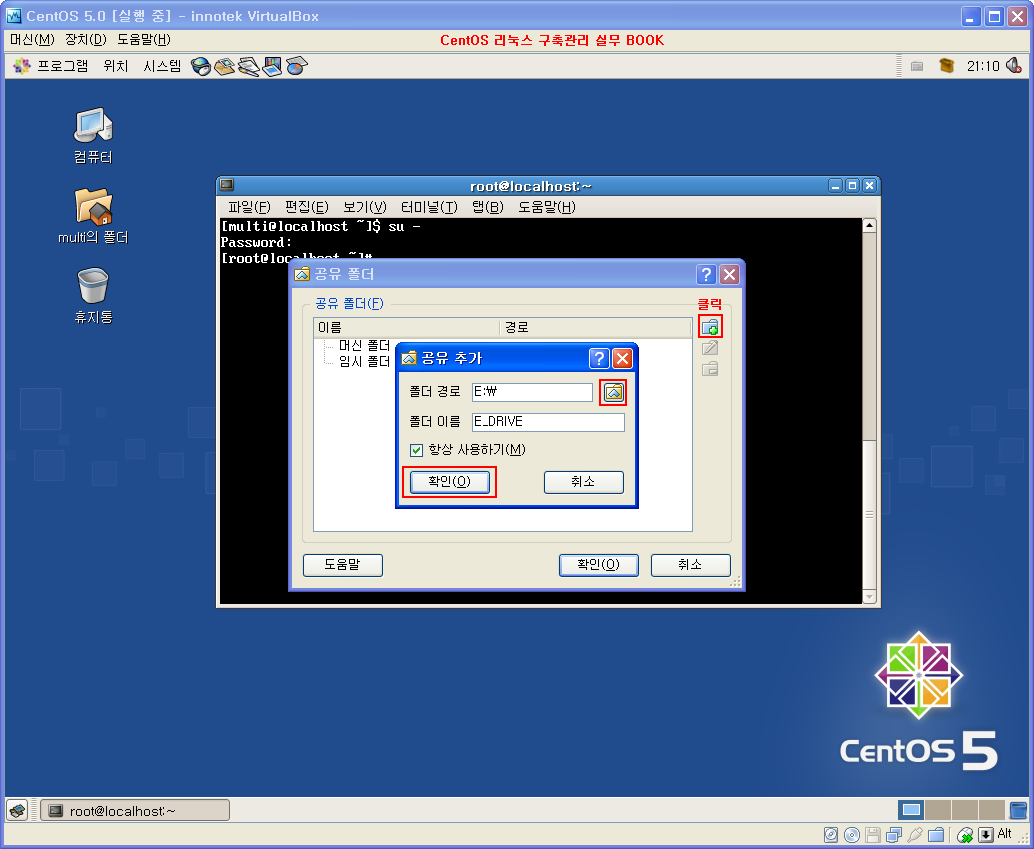
3. 앞서 설정한 공유폴더인 E:\ 파티션을 리눅스에서 마운트 한다.
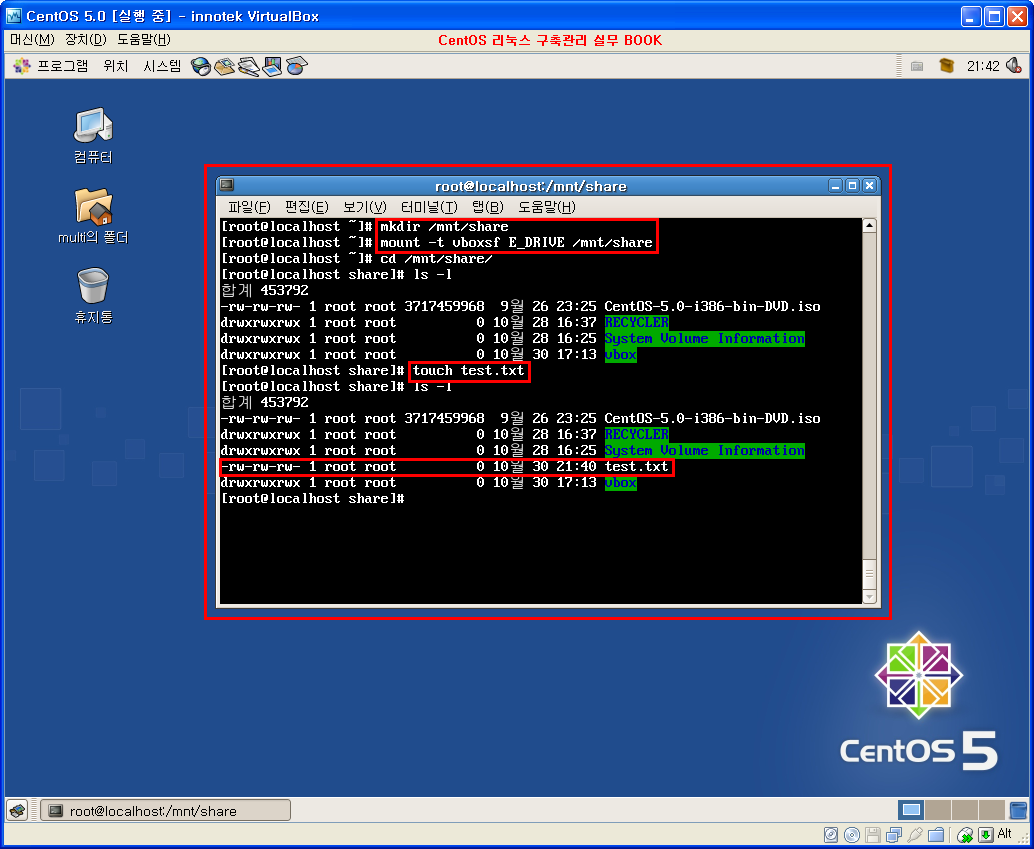
리눅스상에서 /mnt/share디렉토리를 만들고, mount 파티션 타입을 vboxsf 로 지정해서 마운트한다.
마운트한 디렉토리에 빈파일인 test.txt 파일을 생성하면 정상적으로 생성되는것을 볼 수 있다. 또한 윈도우에서 totalcmd 로 D:\ 디렉토리를 보면 test.txt 파일이 생성되어 있는 것도 볼 수 있다.
[root@localhost ~]# mount -t vboxsf E_DRIVE /mnt/share
[root@localhost ~]# cd /mnt/share/
[root@localhost share]# ls -l
합계 453792
-rw-rw-rw- 1 root root 3717459968 9월 26 23:25 CentOS-5.0-i386-bin-DVD.iso
drwxrwxrwx 1 root root 0 10월 28 16:37 RECYCLER
drwxrwxrwx 1 root root 0 10월 28 16:25 System Volume Information
drwxrwxrwx 1 root root 0 10월 30 17:13 vbox
[root@localhost share]# touch test.txt
[root@localhost share]# ls -l
합계 453792
-rw-rw-rw- 1 root root 3717459968 9월 26 23:25 CentOS-5.0-i386-bin-DVD.iso
drwxrwxrwx 1 root root 0 10월 28 16:37 RECYCLER
drwxrwxrwx 1 root root 0 10월 28 16:25 System Volume Information
-rw-rw-rw- 1 root root 0 10월 30 21:40 test.txt
drwxrwxrwx 1 root root 0 10월 30 17:13 vbox
[root@localhost share]#
윈도우 토탈커맨더에서 D:\ 파티션을 본 그림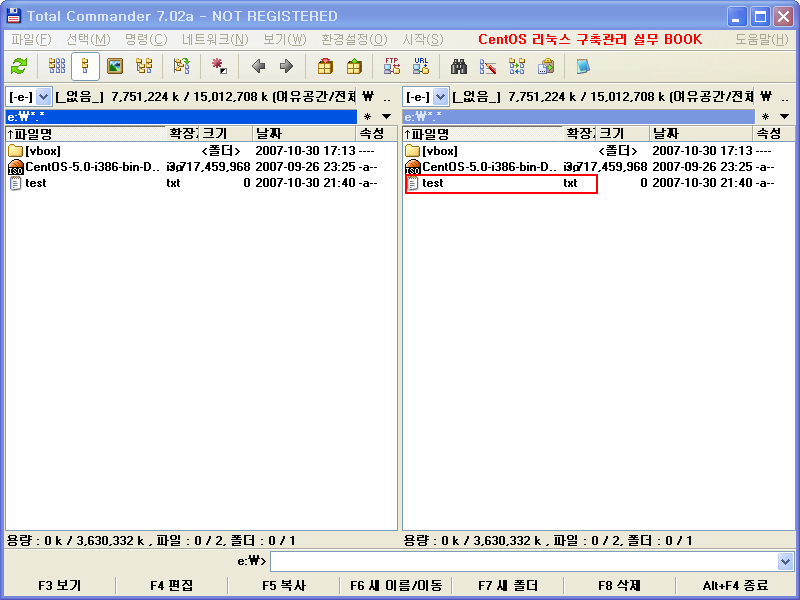
4. 마운트한 공유폴더를 언마운트할때는 아래와 같이 하면 된다.
[root@localhost ~]# umount /mnt/share
Filesystem Size Used Avail Use% Mounted on
/dev/mapper/VolGroup00-LogVol00
7.2G 3.0G 3.9G 44% /
/dev/hda1 99M 11M 84M 12% /boot
tmpfs 252M 0 252M 0% /dev/shm
E_DRIVE 15G 7.0G 7.4G 49% /mnt/share
[root@localhost ~]# umount /mnt/share
[root@localhost ~]# df -h
Filesystem Size Used Avail Use% Mounted on
/dev/mapper/VolGroup00-LogVol00
7.2G 3.0G 3.9G 44% /
/dev/hda1 99M 11M 84M 12% /boot
tmpfs 252M 0 252M 0% /dev/shm
[root@localhost ~]#
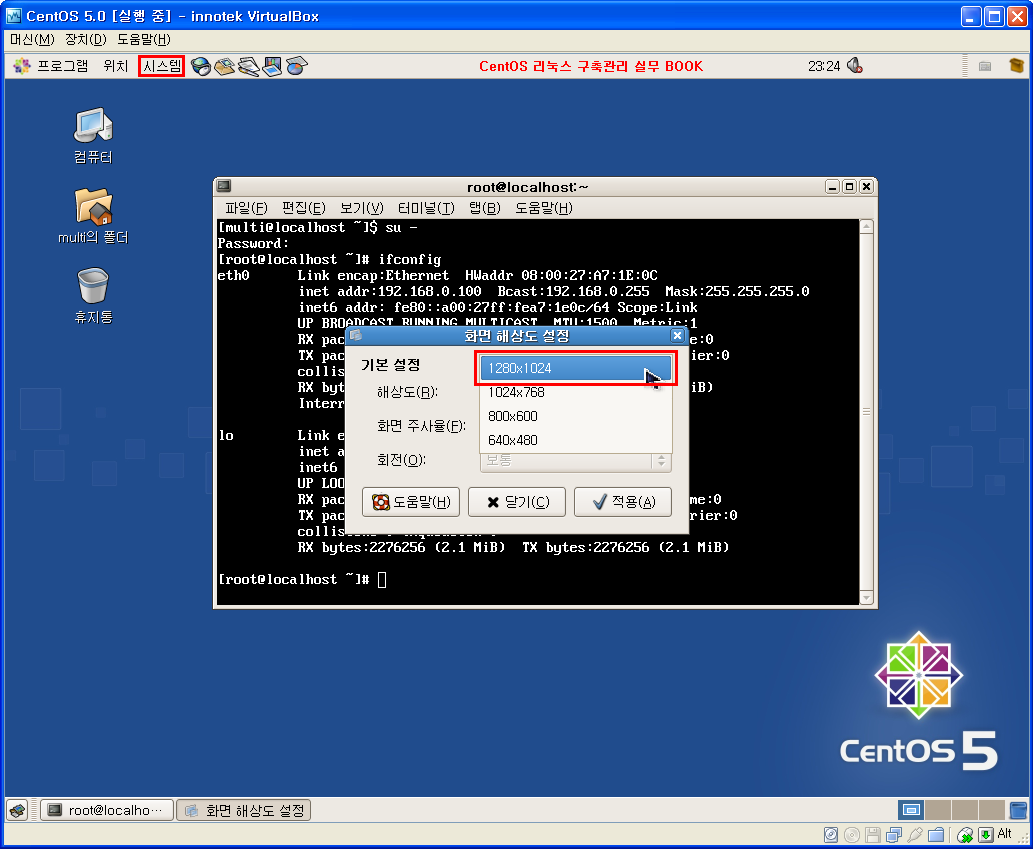
5. 만약 해상도를 1280x1024 로 사용하려면, 버추얼박스에 설치된 CentOS 리눅스의 X화면 설정파일(/etc/X11/xorg.conf)에서 제일 하단의 Screen 섹션에 사용할 Screen Modes를 추가해준다.
그리고 셧다운을 하고 버추얼박스상의 비디오메모리를 64M 정도로 설정하고 부팅한 다음, CentOS의 메뉴에서 시스템 > 기본설정 > 화면해상도를 선택하고 해상도를 1280x1024로 설정하면 된다.
전체화면으로 사용할 시에는 HOST키+F 단축키를 사용하도록 한다. (필자는 ALT+F키를 사용하였다.)
지정한 해상도가 안된다면 모니터가 정상적으로 설정되어 있는지 확인한다.
모니터 설정부분에서 시스템 > 관리 > 화면표시를 선택하고 적절한 모니터 유형을 선택하도록 한다.
[root@localhost ~]# vi /etc/X11/xorg.conf
Identifier "Screen0"
Device "Videocard0"
Monitor "Monitor0"
DefaultDepth 24
SubSection "Display"
Viewport 0 0
Depth 24
Modes "1280x1024" "1024x768" "800x600" "640x480"
EndSubSection
EndSection